Short answer: an office waste sorting station works when it puts 2–4 clearly labeled, color-matched bins at the point where waste is actually created, sized to roughly 10–15 liters per person per stream per day, emptied on a fixed schedule. Programs fail for physical reasons far more often than for lack of goodwill: wrong bin count, confusing colors, bins too far from the coffee machine, or liners that nobody knows how to change. This guide gives facility managers a repeatable setup — categories, sizes, placement and cleaning — that survives contact with real office behavior.
Why Most Office Recycling Programs Fail
Audits of underperforming programs keep finding the same five problems:
- Desk-side bins without sorting. If every desk has one general bin, everything ends in it and downstream sorting never happens.
- Too many categories too early. Six-stream stations at launch guarantee wrong-binning; start with 3–4 streams and earn complexity later.
- Inconsistent colors between floors. People build habits by color; if blue means paper on floor 2 and plastics on floor 4, both streams are contaminated.
- No ownership of the empty bin. A station that overflows once trains the whole floor that sorting is optional.
- Bins that are unpleasant to touch. Lidless small bins in pantries and print rooms get bypassed the moment anything wet or messy goes in.
Every one of these is a procurement and layout decision, not a behavior problem — which is good news, because you can fix them on a purchase order.
Step 1: Choose Your Categories (and Start With Four)
For most offices, four streams cover 95% of generated waste:
- Paper & cardboard — print rooms, mail areas, meeting rooms.
- Plastics, cans & containers — pantries, cafeterias, event spaces.
- Organics / food waste — pantry and cafeteria only; don’t distribute organics bins to desks.
- Residual / general — the safety net stream that keeps contamination out of the recyclables.
Add dedicated streams (e-waste, batteries, toner) as small point-of-use bins at facilities rooms, not as part of every station. The color language you assign to these streams should follow the scheme your cleaning contractor and municipality already use — the common commercial color conventions are compared in commercial recycling bin color codes.
Step 2: Size Bins to Headcount
Undersized bins overflow; oversized bins let waste sit and smell. The rule of thumb for a standard office day:
| Stream | Volume per person/day | Recommended station bin | Emptying frequency (per 50 staff) |
|---|---|---|---|
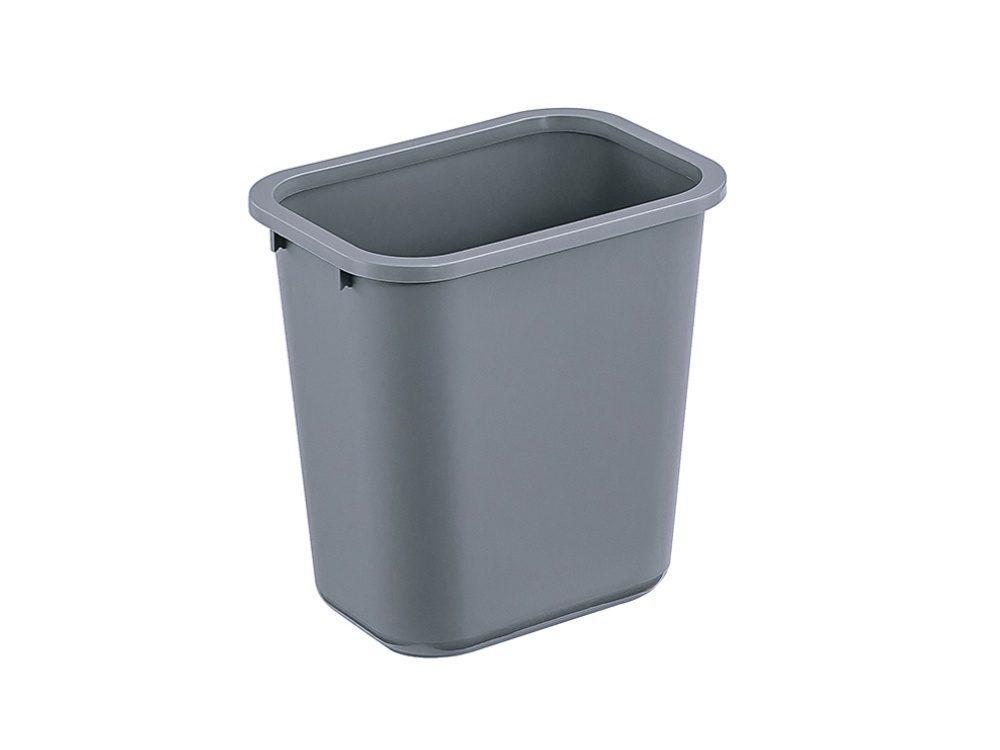
| Paper & cardboard | 8–12 L | 60–87 L | 2× per week |
| Plastics & cans | 4–6 L | 40–60 L | Daily |
| Organics (pantry only) | 3–5 L | 20–30 L with lid | Daily |
| Residual | 5–8 L | 40–60 L | Daily |
Two structural choices pay off in service: matched sets — stations built from identical bins in different colors, so one liner size and one spare-bin stock covers every stream — and lidded bins for organics and pantries, where a hands-free plastic pedal bin keeps hands off surfaces and smells contained between services.
Step 3: Color, Signage and the “One Glance” Test
A sorting station passes the one-glance test when a visitor can sort correctly without reading anything. That requires three aligned cues:
- Bin color = stream color everywhere in the building, on every floor.
- Graphic signage at eye level showing your actual waste items (the coffee cup, the A4 stack, the PET bottle), not generic recycling icons.
- Apertures that constrain: a round hole for cans and bottles and a slot for paper physically prevent the lazy throw and cost nothing to maintain.
Keep signage bilingual if your workforce is mixed, and re-print it when your waste contractor changes accepted materials — stale signage is how contamination creeps back.
Step 4: Placement — Follow the Waste, Not the Floor Plan
Map where waste is generated, then place stations there:
- Print / copy rooms: paper + residual, high turnover, no organics.
- Pantry / kitchenette: the full four streams; this is the station that does the heaviest lifting, so give it the biggest bins and the pedal-operated organics bin.
- Meeting rooms: a small paired bin (paper + residual) or nothing — coffee cups travel out to the pantry station, and a bin in every meeting room quietly multiplies your emptying workload.
- Desk-side: remove single bins entirely or issue tiny residual-only bins; the sorting habit forms at the pantry station, not at the desk.
- Reception and event spaces: paired clean stations with lids, because these are the bins your visitors see and judge you by.
Offices in mixed-use buildings should also agree bin-room dimensions with building management before buying — 60–87 L bins need real depth for liner changes, and stations that block fire exits get removed by the fire marshal, not by you.
Liners, Hygiene and the Cleaning Routine That Keeps Stations Alive
Liner discipline is the unglamorous core of the program. Buy one liner size per bin family, stock them at the bin room, and color-code the liner roll racks the same way as the bins so cleaning staff never guess. A practical routine:
- Daily: empty organics, pantry plastics and residual; wipe contact points (lids, pedals, apertures).
- Weekly: full wash-down of pantry and organics bins; inspect for cracks and stuck residue.
- Monthly: audit one floor — pull ten items from the paper stream and count contaminants; publish the number to the team.
Smooth-walled, rounded-corner plastic bins wash in minutes; textured or fabric-lined designs never fully come clean and eventually get removed for smell. Public-facing and high-traffic buildings face the same trade-offs at bigger volumes — the selection logic in high-traffic public venue bins applies to lobbies and shared floors too.
Common Mistakes to Avoid
- Buying bins before mapping waste points — layout first, procurement second.
- Mixing bin brands per stream, so liner sizes multiply and lids don’t interchange.
- Serving recycled-stream bins with the same lids as residual, guaranteeing cross-contamination.
- No spare-bin stock: one cracked bin quietly deletes a stream from a floor.
- Measuring nothing — without a simple contamination count, the program can’t improve or defend its budget.
Procurement Checklist for Office Sorting Stations
- Bin set per station: 3–4 matched bins, one footprint family, distinct colors.
- Hands-free lids (pedal) for organics and pantry streams.
- Liner lock or rim design that hides the bag edge — visible liners read as “unclean”.
- Capacity sized from the table above, with one spare bin per stream in stock.
- UV-stabilized and washable construction for bins near windows or on terraces.
- Signage printed for your actual waste items, refreshed when contracts change.
plastic waste bins buyers: our Sanitation Solutions range covers the specifications outlined in this guide.
Frequently Asked Questions
How many bins should an office of 50 people have? Typically 6–8 stations: one full four-stream station in the pantry, one pair per print room and per high-occupancy floor, plus small residual-only desk bins if policy allows. Total roughly 20–25 bins, dominated by pantry and print-room stations.
What bin size works best for desk-side sorting? None, ideally — sort at shared stations. If desks must have bins, keep them under 10 L, residual-only, and empty them into the correct stream at the station.
Which colors should we use for waste streams? Follow your contractor and municipality first (blue paper, yellow plastics and green organics are common). Consistency inside your building matters more than which specific standard you pick.
How do we stop contamination in the recycling stream? Constrain apertures, put the residual bin beside every recycling bin, keep signage current, and audit one floor monthly — visible numbers change behavior faster than reminders.
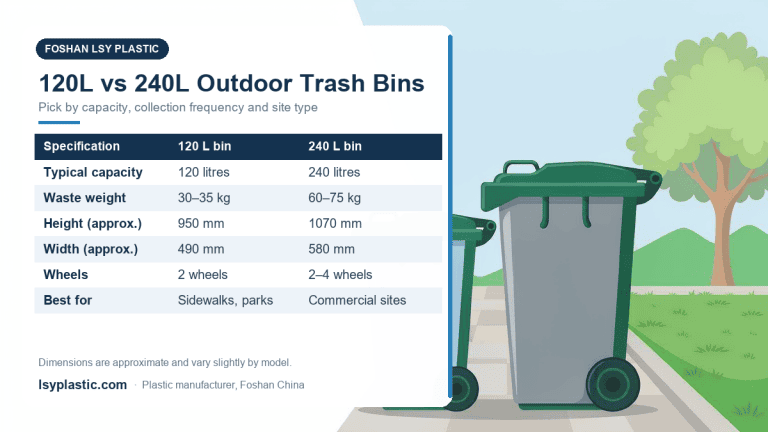
Related reading: outdoor plastic trash bins guide — 120L/240L wheelie bins, EN840 and municipal specs.