Stacking and nesting are opposite answers to the same question: what does an empty crate cost to move? A crate fleet spends a surprising share of its life empty, and the geometry you choose decides whether empty logistics is a rounding error or a second fleet. Here is how the two systems compare.
For a full breakdown of crate types, sizes and load ratings, see our industrial plastic crates guide.
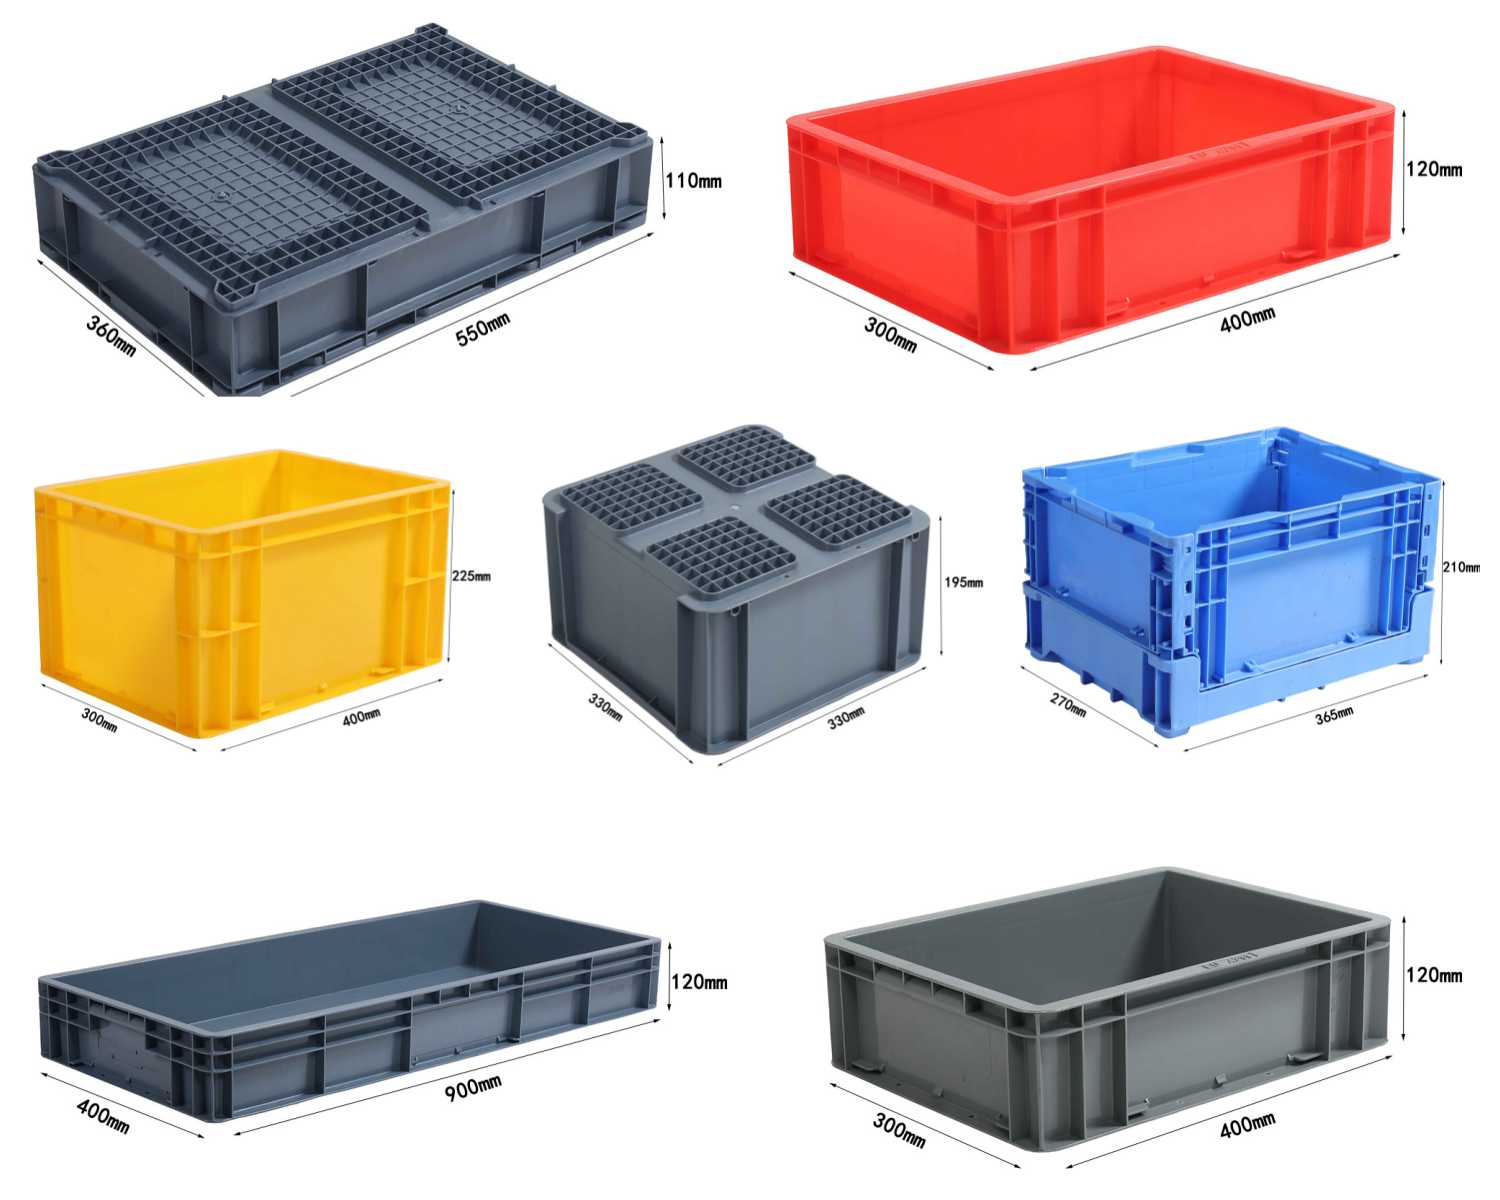
The two geometries
| Property | Stackable | Nesting |
|---|---|---|
| Full-load stability | Excellent — rims interlock | Good — relies on taper friction |
| Empty volume | 100% (same as full) | 20–40% of full |
| Typical nesting ratio | 1:1 | 3:1 to 5:1 |
| Wall strength | Higher (straight walls) | Lower (tapered walls) |
| Best duty | Heavy closed-loop, racking | Distribution, retail, produce |
| Empty return cost | High | Low |
Where nesting wins outright
Any operation that ships crates out and brings them back empty — bakery routes, produce distribution, laundry, catering, retail replenishment. If a truck returns empty anyway, nesting pays twice: fewer trucks or fewer trips for the same crate count, and less warehouse volume burned storing the empties. The returnable packaging ROI guide shows how to put numbers on this; the nesting ratio is usually the single biggest lever in the model.
Where straight-walled stacking still wins
- Heavy loads — straight walls carry compression from crates stacked above; tapered walls shed part of it.
- High stacking in storage — interlocking rims keep towers stable at 6+ high.
- Automated handling — straight geometry is friendlier to conveyors and stacker cranes.
- Content protection — for fragile or high-value goods, maximum wall stiffness earns its price.
Automotive parts loops are the classic straight-walled case; see our turnover boxes for automotive logistics guide for that duty class.
Dual-mode: stack full, nest empty
The reversing-rim design flips one way to stack and the other to nest. The trade-offs:
- + One fleet does both jobs — no mixed inventory
- + Empty returns at nesting economics
- − Higher unit price than single-mode crates
- − Slightly lower stack stability than dedicated interlocking rims
For pooled operations running full both directions, dual-mode usually has the lowest total cost per trip despite the higher purchase price.
Decision checklist
| Your situation | Recommendation |
|---|---|
| Round-trip distribution, loads < 15 kg | Nesting or dual-mode |
| One-way export, no return | Cheap stackable, or expendable |
| Heavy industrial closed loop | Straight-walled stackable |
| Mixed fleet headaches | Standardise on dual-mode |
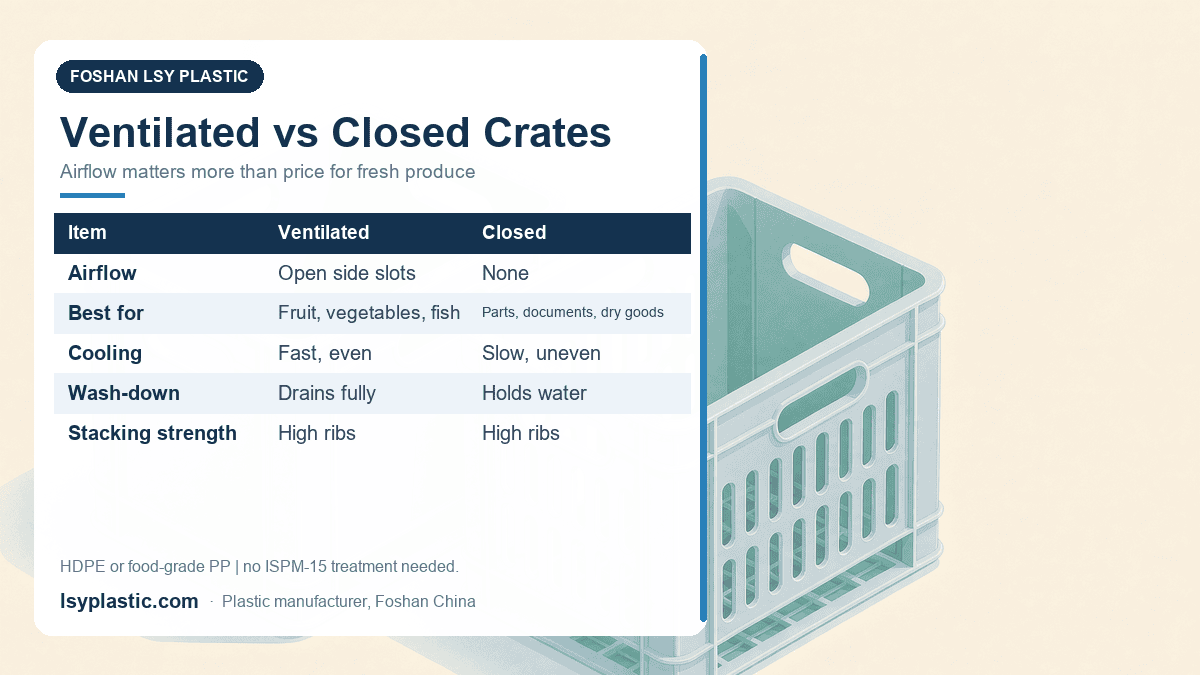
| Produce / ventilated duty | Nesting ventilated crates (see our ventilated crate guide) |
The last row is a reminder that ventilation and colour-coding decisions stack on top of the geometry decision — fix footprint, then geometry, then ventilation and colour, in that order. Each layer narrows the field before money changes hands.
Looking for plastic crates and turnover boxes? Explore our Turnover Box Series range — injection molded in our own factory with 35+ years of experience.